Quick Answer
A convincing Seedance 2.0 NSFW short film is not built by asking for one perfect generation.
It is built by deciding what the finished film needs, generating clips that can be cut together, and selecting each take for continuity, pacing, sound, and editability—not visual impact alone. Seedance 2.0 is well suited to this process because it combines text, image, video, and audio inputs with 15-second multi-shot audio-video generation, video extension, and targeted editing.
Those capabilities can produce strong source material, but a complete short film still needs production decisions: which shots provide coverage, where actions should begin and end, when audio should carry across a cut, and whether a weak clip should be regenerated, edited, extended, or removed. NSFW scenes place additional pressure on character identity, body proportions, contact points, pose transitions, camera distance, and visual occlusion.
A clip can look cinematic on its own but still fail in the final cut if the physical relationship changes between angles or the camera hides the action the scene was built around. This guide focuses on those decisions.
It starts with a finished-film brief and ends with a coherent final cut, while accounting for the character, interaction, framing, and continuity demands that matter in uncensored 18+ storytelling.
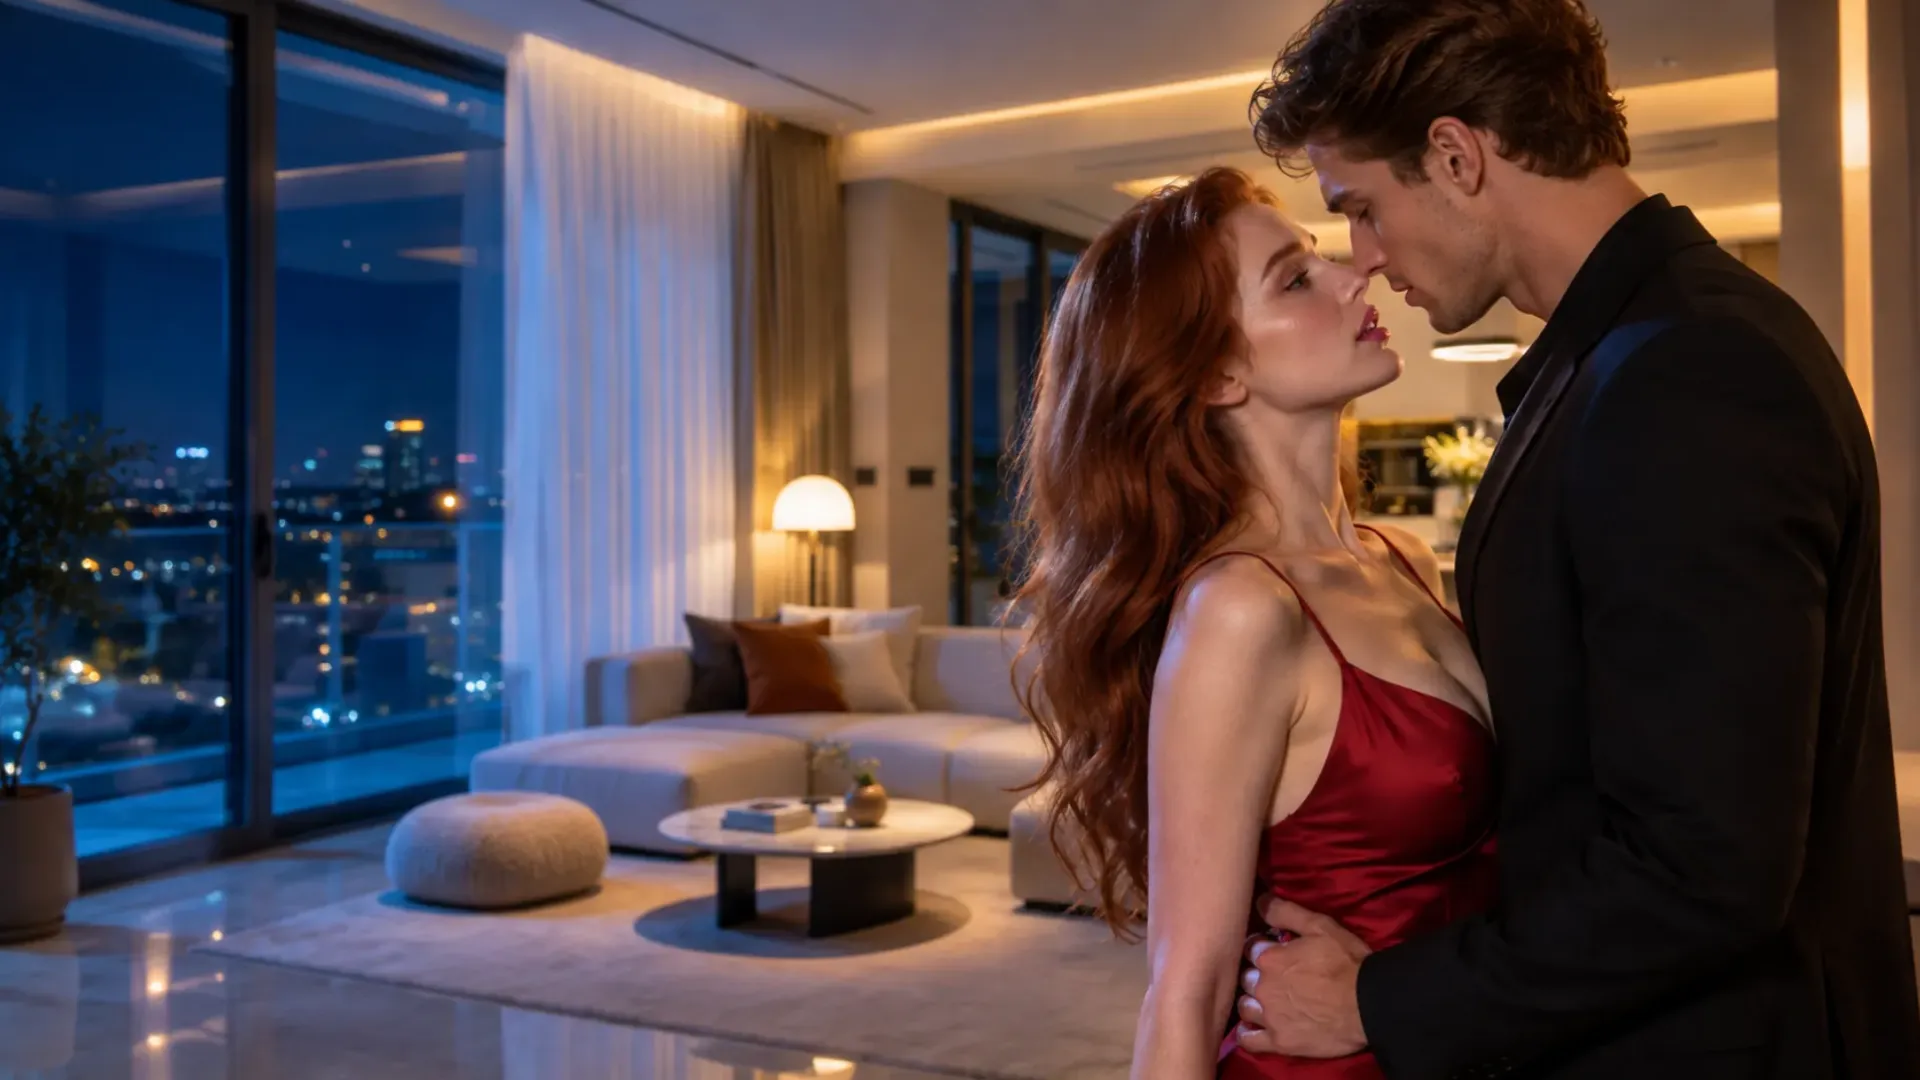
Understand Seedance 2.0's Role in the Film
Seedance 2.0 can generate polished scenes, follow multimodal references, create synchronized audio, modify parts of an existing clip, and continue footage beyond its current ending.
That makes it more than a simple text-to-video tool.
It can operate as the central generation engine inside a short-film workflow. It is not, however, the entire filmmaking process. A 15-second generation can contain several connected shots, but a finished film may need more time, alternate performances, cleaner transitions, different shot sizes, and sound that remains stable across several clips.
The final result usually comes from assembling selected outputs rather than treating every generation as a finished sequence. This distinction changes the production goal.
Do not ask only: Did Seedance generate a beautiful clip? Ask instead: Does this clip perform a clear job in the final film, and can an editor enter and leave it cleanly? A dramatic shot that begins too late, ends during the main action, or changes the room halfway through may be difficult to use.
A simpler take with a readable entrance, stable interaction, and clear ending may be far more valuable once the film reaches the timeline.
Lock the Film Before You Generate
Start with a short production brief.
It should describe the finished viewing experience rather than every visual detail you might eventually prompt.
For an NSFW short film, it must also establish how the physical and emotional distance between the characters changes across the sequence. Write it like a real production lock rather than a list of abstract definitions:
| Film Lock | Approved Direction |
|---|---|
| Format | 45 seconds, 16:9 |
| Cast | The same two fictional 18+ characters throughout |
| Progression | Restrained tension → closer interaction → explicit turning point → quiet ending |
| Physical continuity | Keep body positioning, contact points, and pose transitions clear |
| Coverage | Anchor shot, performance shot, reaction, detail, and controlled exit |
| Sound | One room tone, restrained music, short vocal cues, and selected action sounds |
This brief does not prescribe one kind of fantasy or interaction.
It locks the production variables that must remain understandable while the scene becomes more intimate.
Runtime determines how much coverage is practical.
The cast lock protects identity and body proportions.
The progression determines pacing, while the physical-continuity line tells every shot what cannot become ambiguous.
Shot descriptions come next. The brief should also identify one non-negotiable quality.
It may be recognizable character identity, readable physical interaction, cinematic camera movement, or synchronized dialogue.
When a generation cannot preserve everything, this priority tells you what must survive and what can be changed in the edit. Avoid beginning with a long master prompt for the entire film.
A master prompt is useful for tone, but it does not tell you whether the final cut has enough angles, clean cut points, or supporting material.
The production brief defines the destination; the shot plan defines what must be generated to reach it.
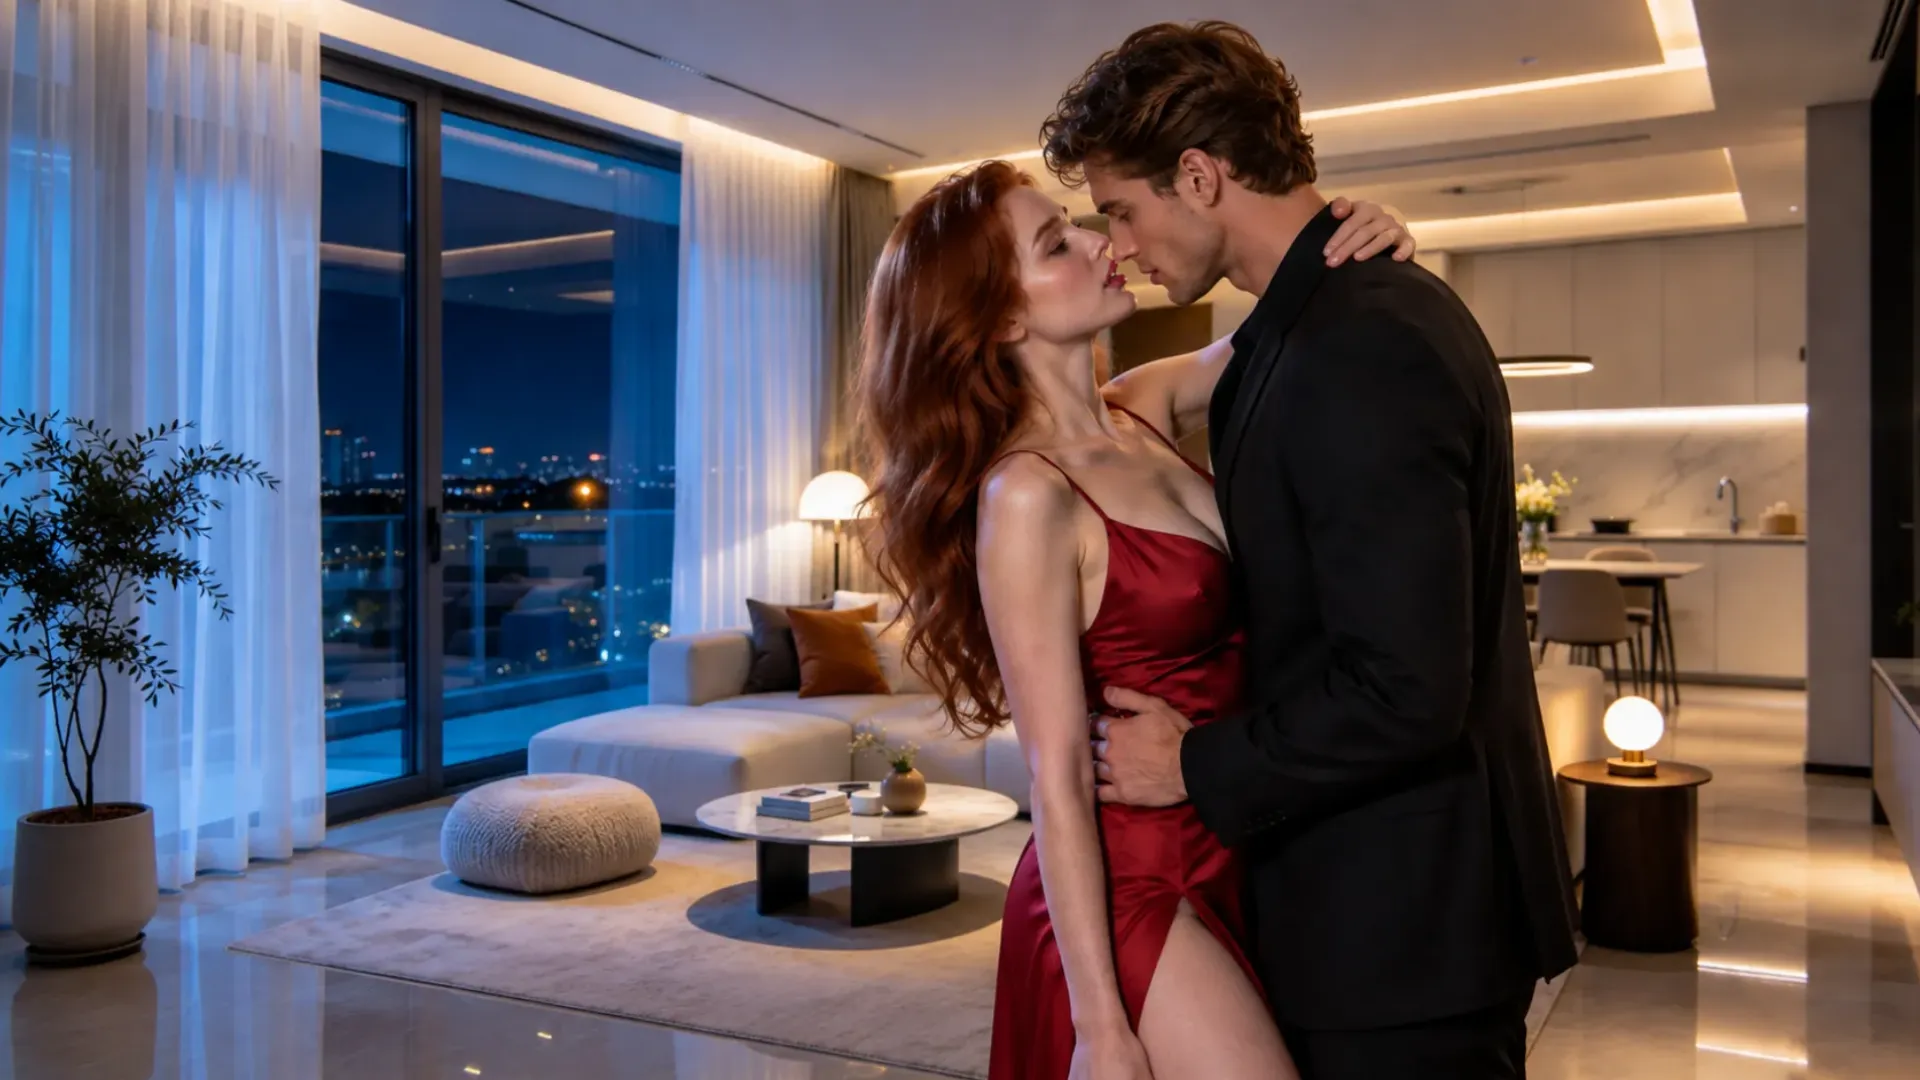
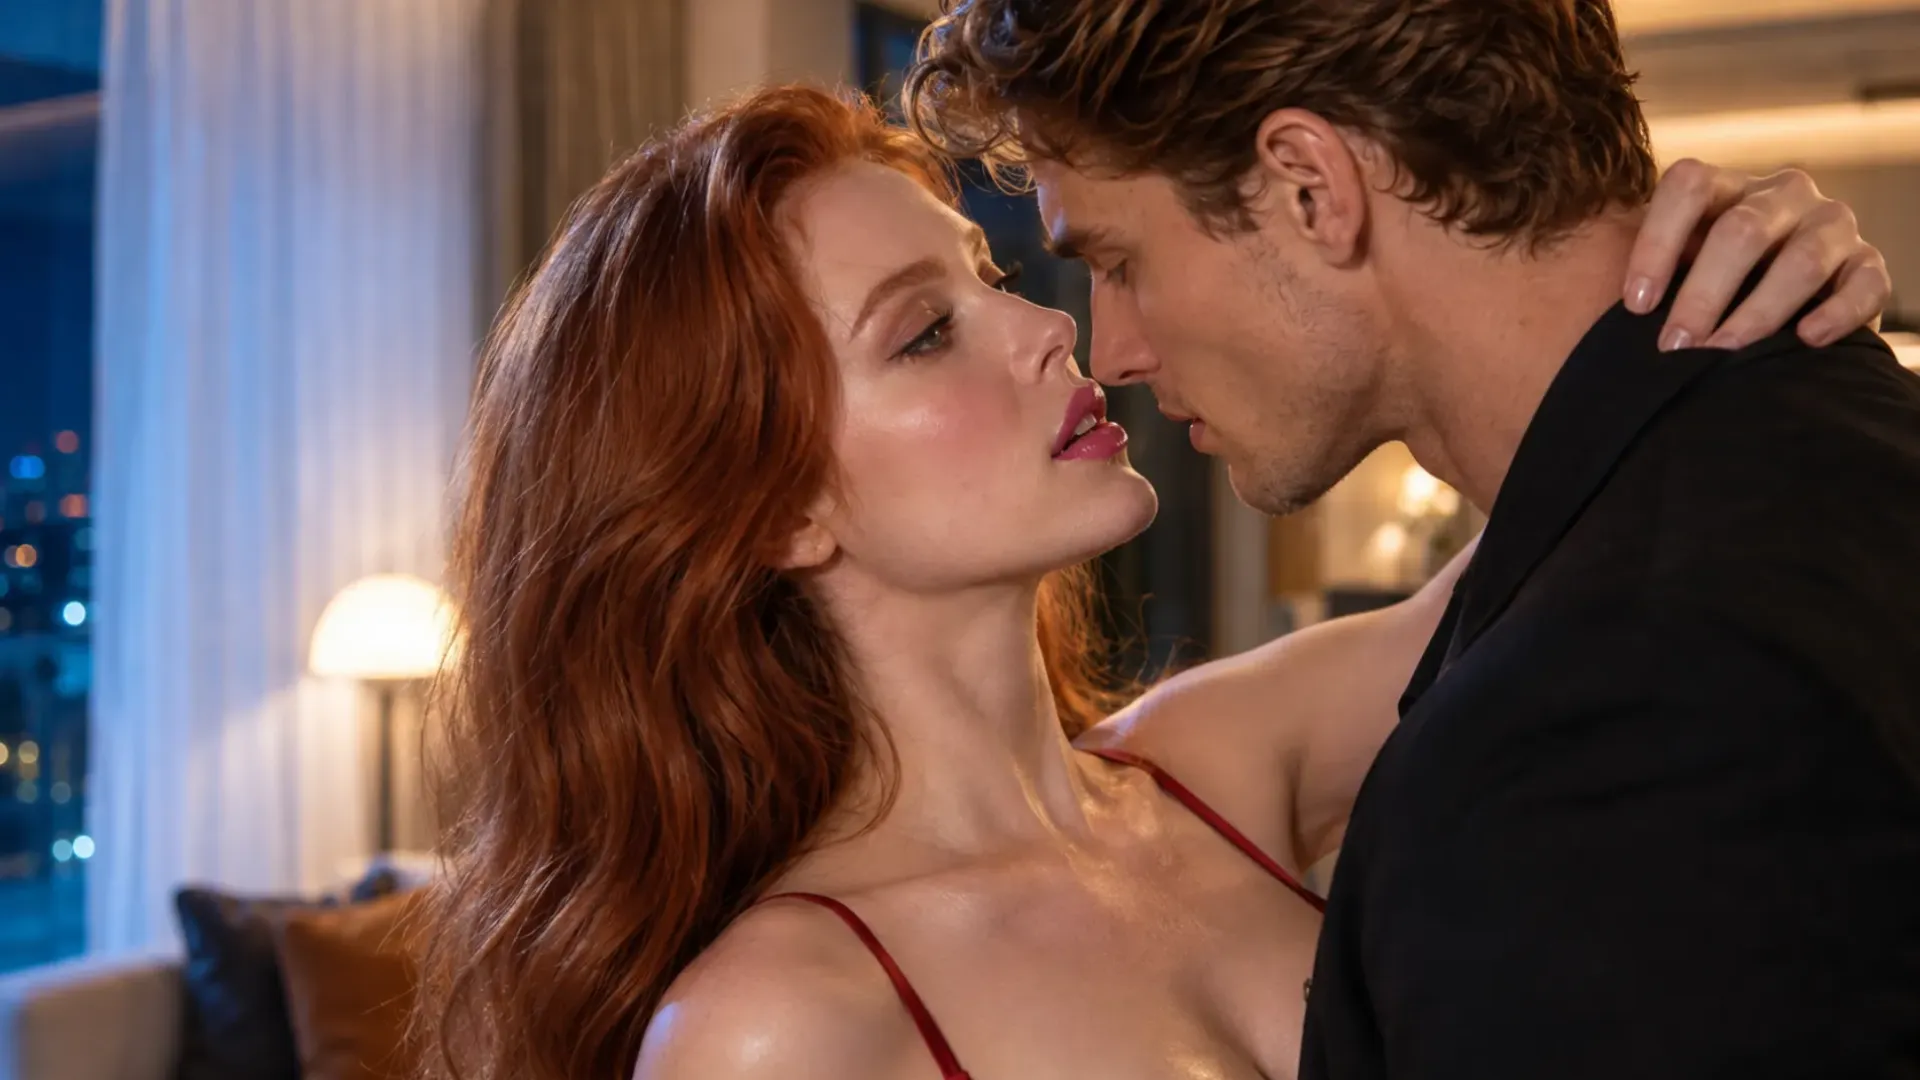
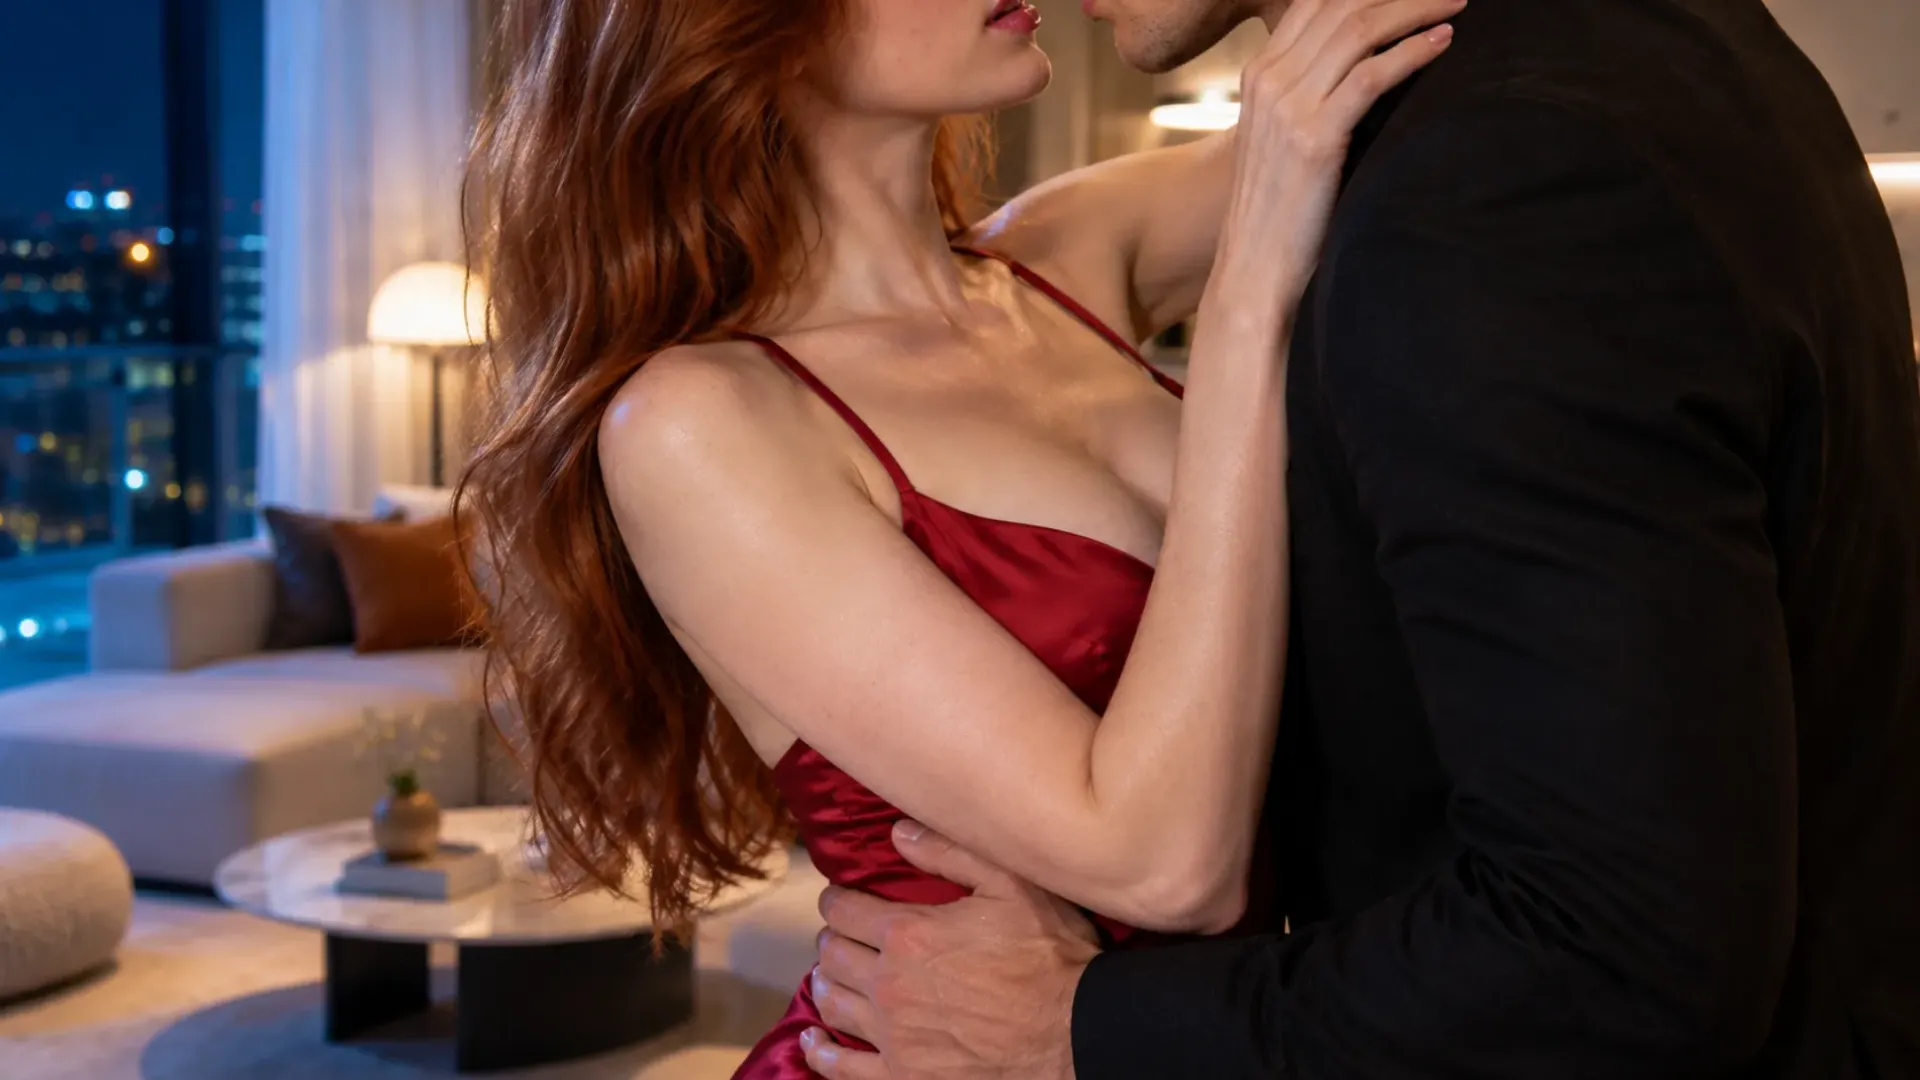
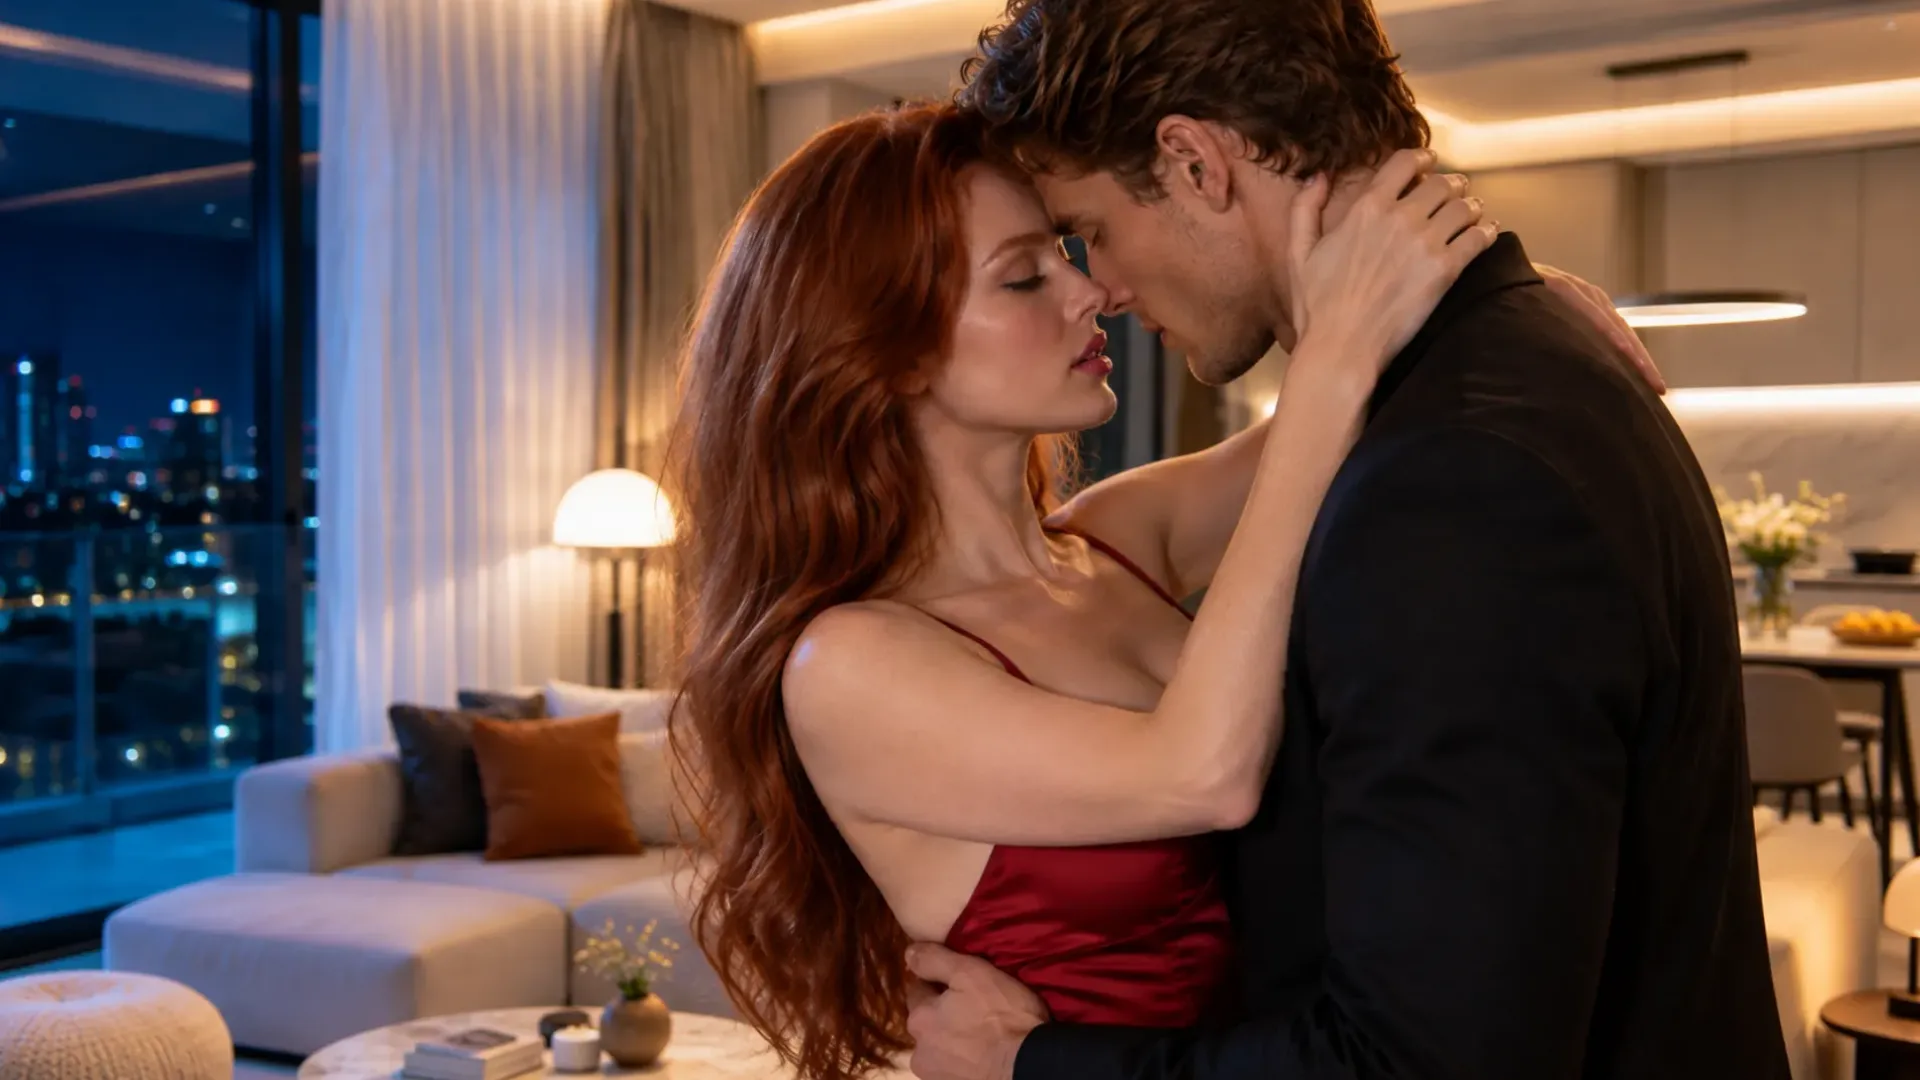
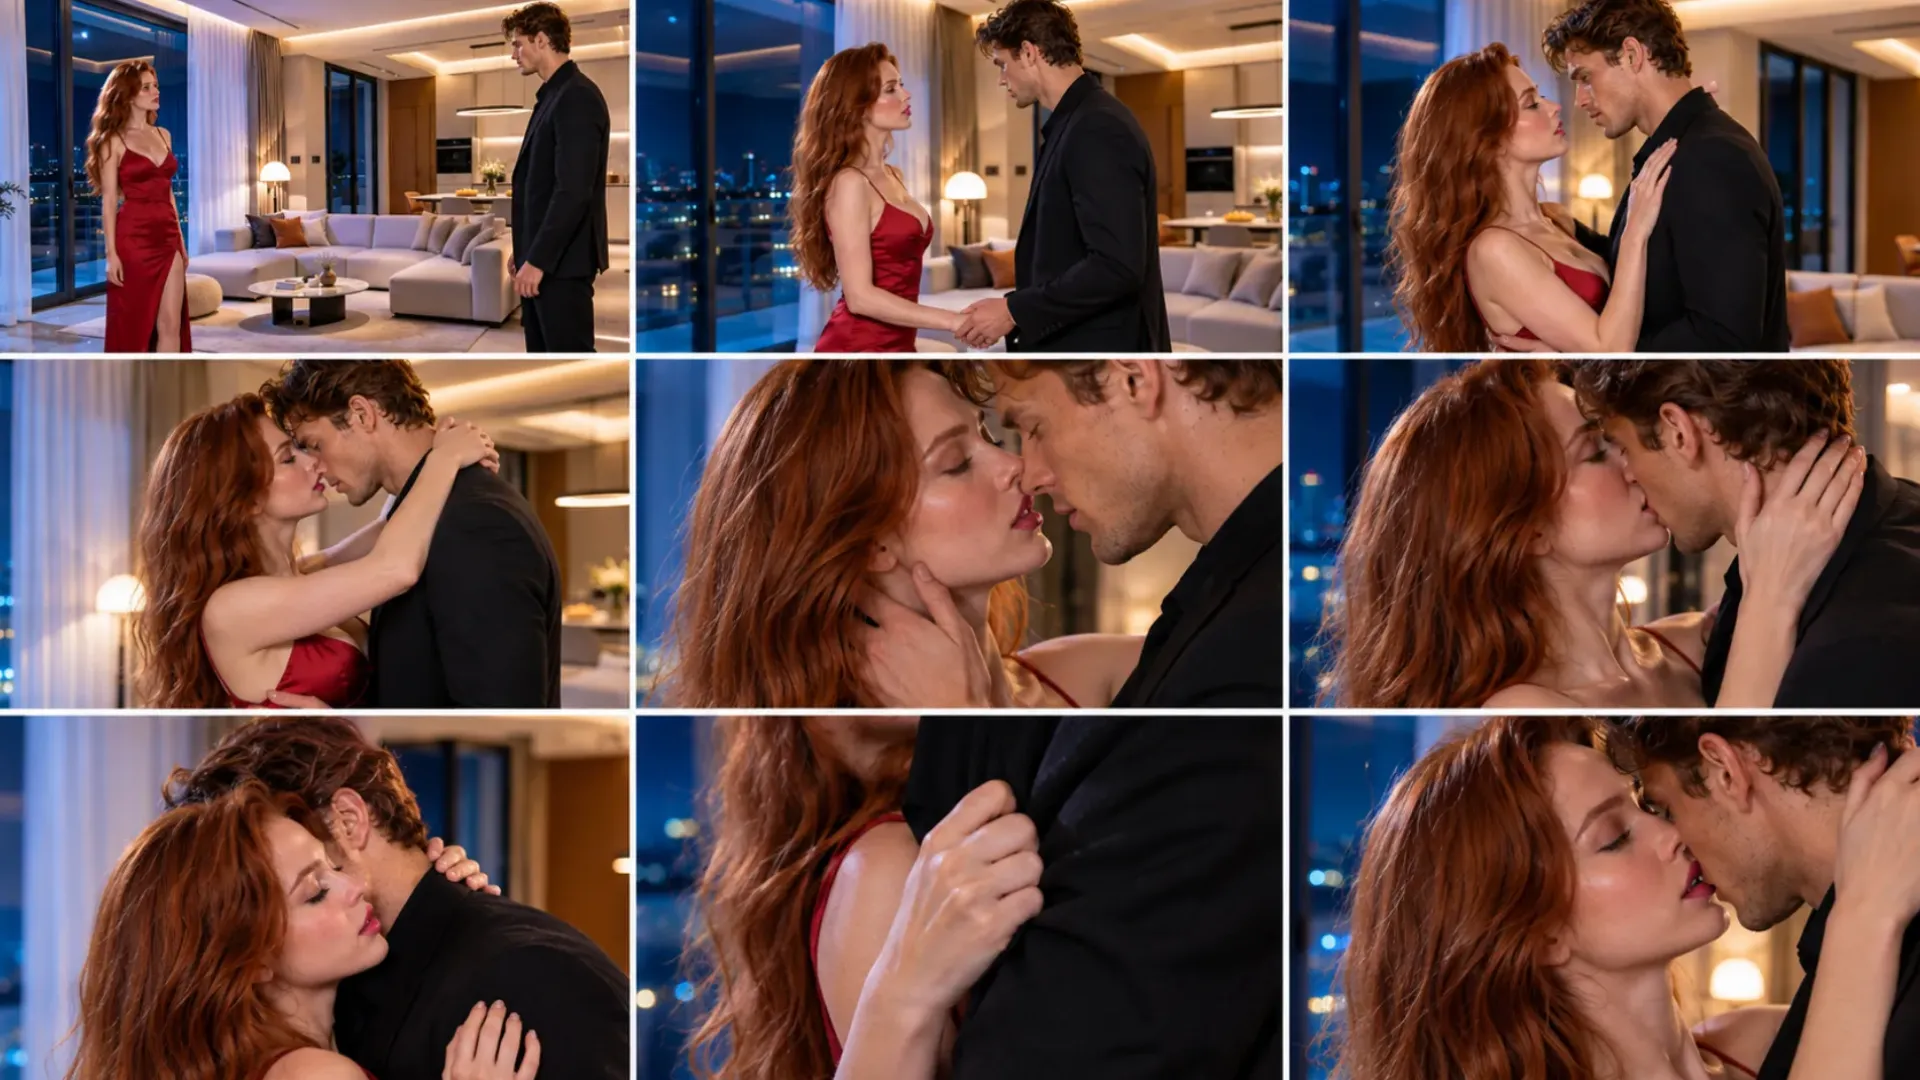
Group 02 uses the same master cast, scene, wardrobe, axis, and lighting as Group 01.
Plan for Coverage, Not One Perfect Clip
In filmmaking, coverage means recording enough complementary angles and details to construct a scene in the edit.
With Seedance 2.0, the principle is the same: do not rely on one generation to carry every action, emotion, and transition. A basic coverage plan can contain five shot functions. The Anchor Shot This is the clearest view of the main interaction.
It establishes where the characters are, how they relate to the room, and what the central action looks like.
A wide or medium shot often works better than an immediate close-up because it gives the viewer spatial context. For an NSFW scene, the anchor also establishes body positioning, who initiates the movement, where contact begins, and which direction each character is facing.
Without that information, later close-ups may look attractive but become difficult to connect. The Performance Shot This shot moves closer to the expression, posture, or intimate interaction that carries the scene.
It does not need to repeat the complete anchor action.
Its job is to make the central moment readable while preserving the body relationship established in the wider view. The Reaction Shot A reaction gives the editor control over pacing.
It can hold on a face, a breath, a glance, or a change in body language. In an NSFW short film, reaction coverage can communicate intimacy without requiring every important beat to remain visible inside one physically complex take. The Detail Shot This isolates a hand movement, an object, a fabric detail, a door closing, a glass being set down, or another element that belongs to the scene. Detail shots can bridge two takes, compress time, or cover a visually unstable pose transition without interrupting the mood.
They are particularly useful when a complex interaction is convincing before and after the transition but unreliable during the change itself. The Exit Shot This gives the scene a deliberate finish: the characters settle into a readable final pose, the camera moves toward an environmental detail, or the interaction resolves into stillness. An exit shot prevents the final cut from ending because a generation simply ran out of duration. Not every scene needs all five.
The purpose of the list is to identify what the edit may require before credits are spent.
For a brief creator teaser, an anchor, a performance shot, and an exit may be enough.
A dialogue-led scene may need more reactions.
A close physical interaction may need a stable anchor plus selected details so the editor is not forced to use one fragile take from beginning to end. Generate coverage around one established scene instead of changing the character, room, lighting, and camera language for every angle.
Variation should serve the edit, not redesign the film.

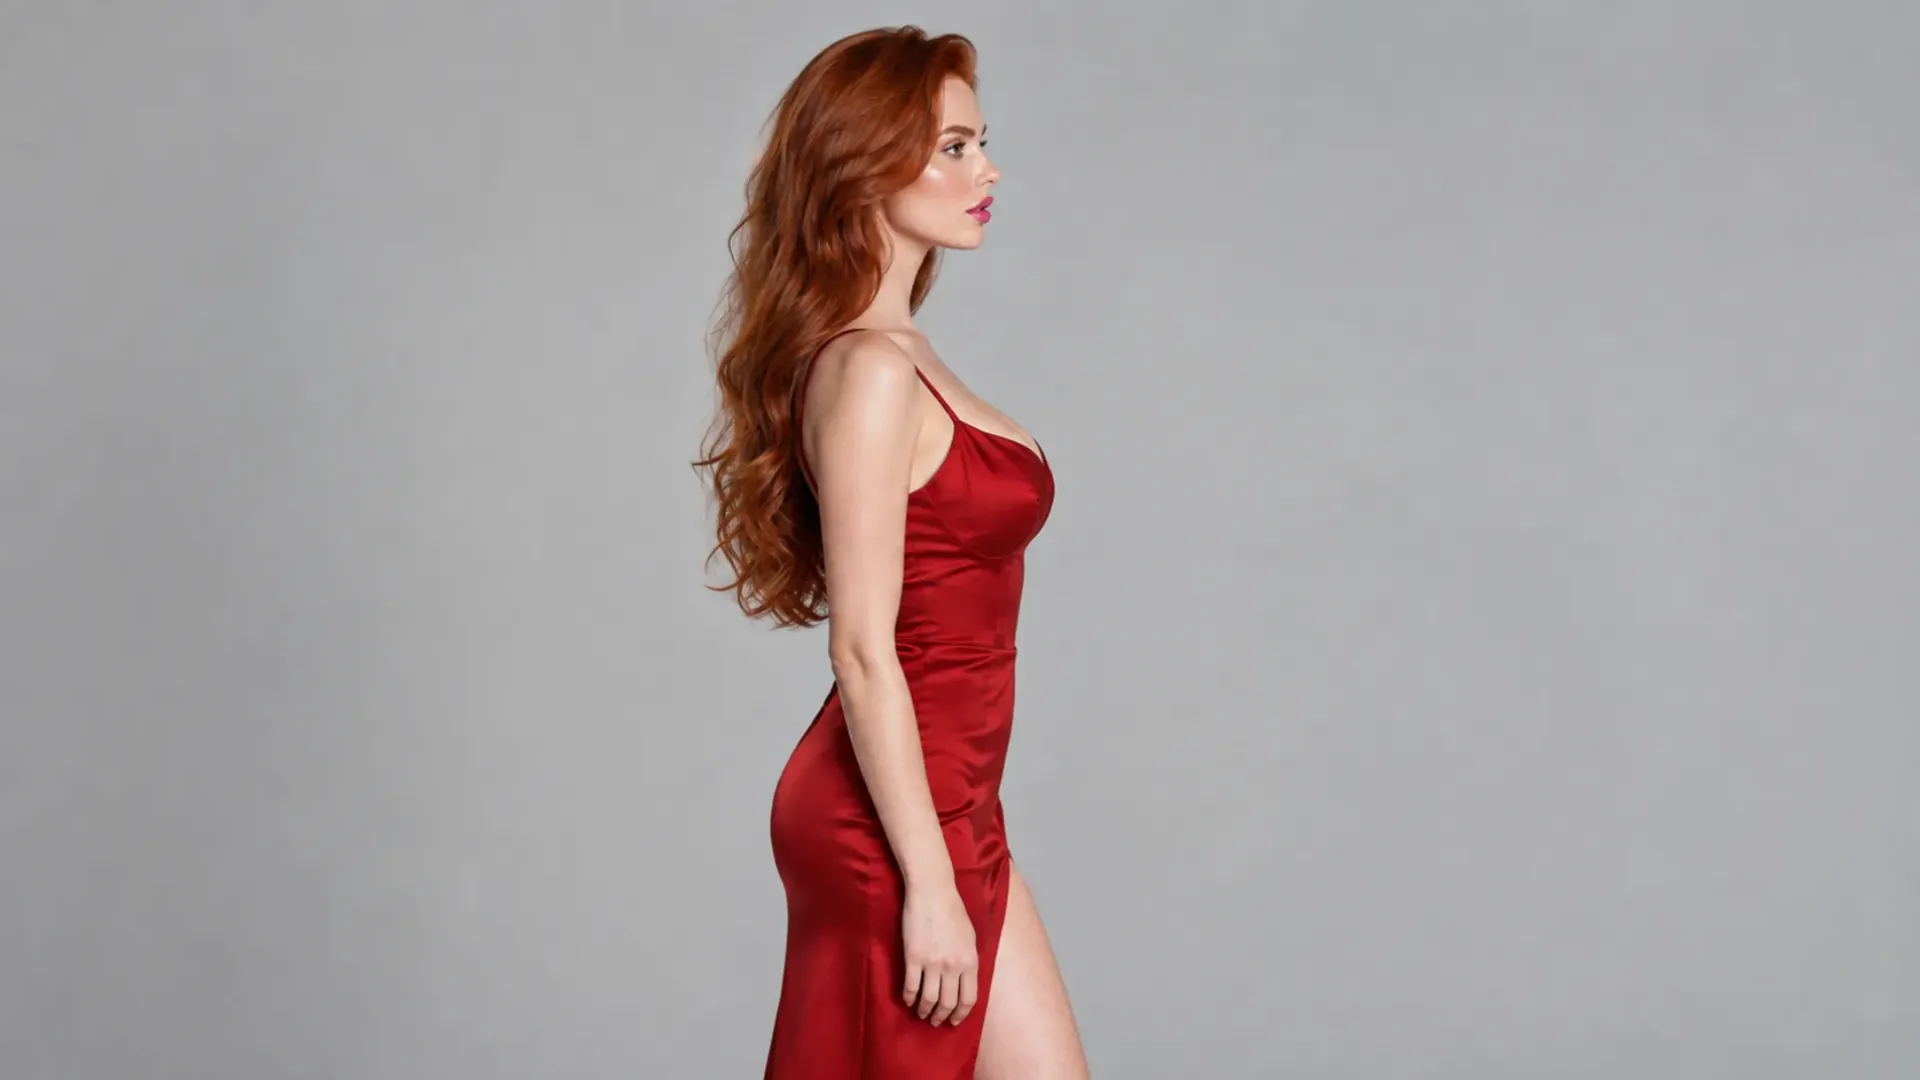
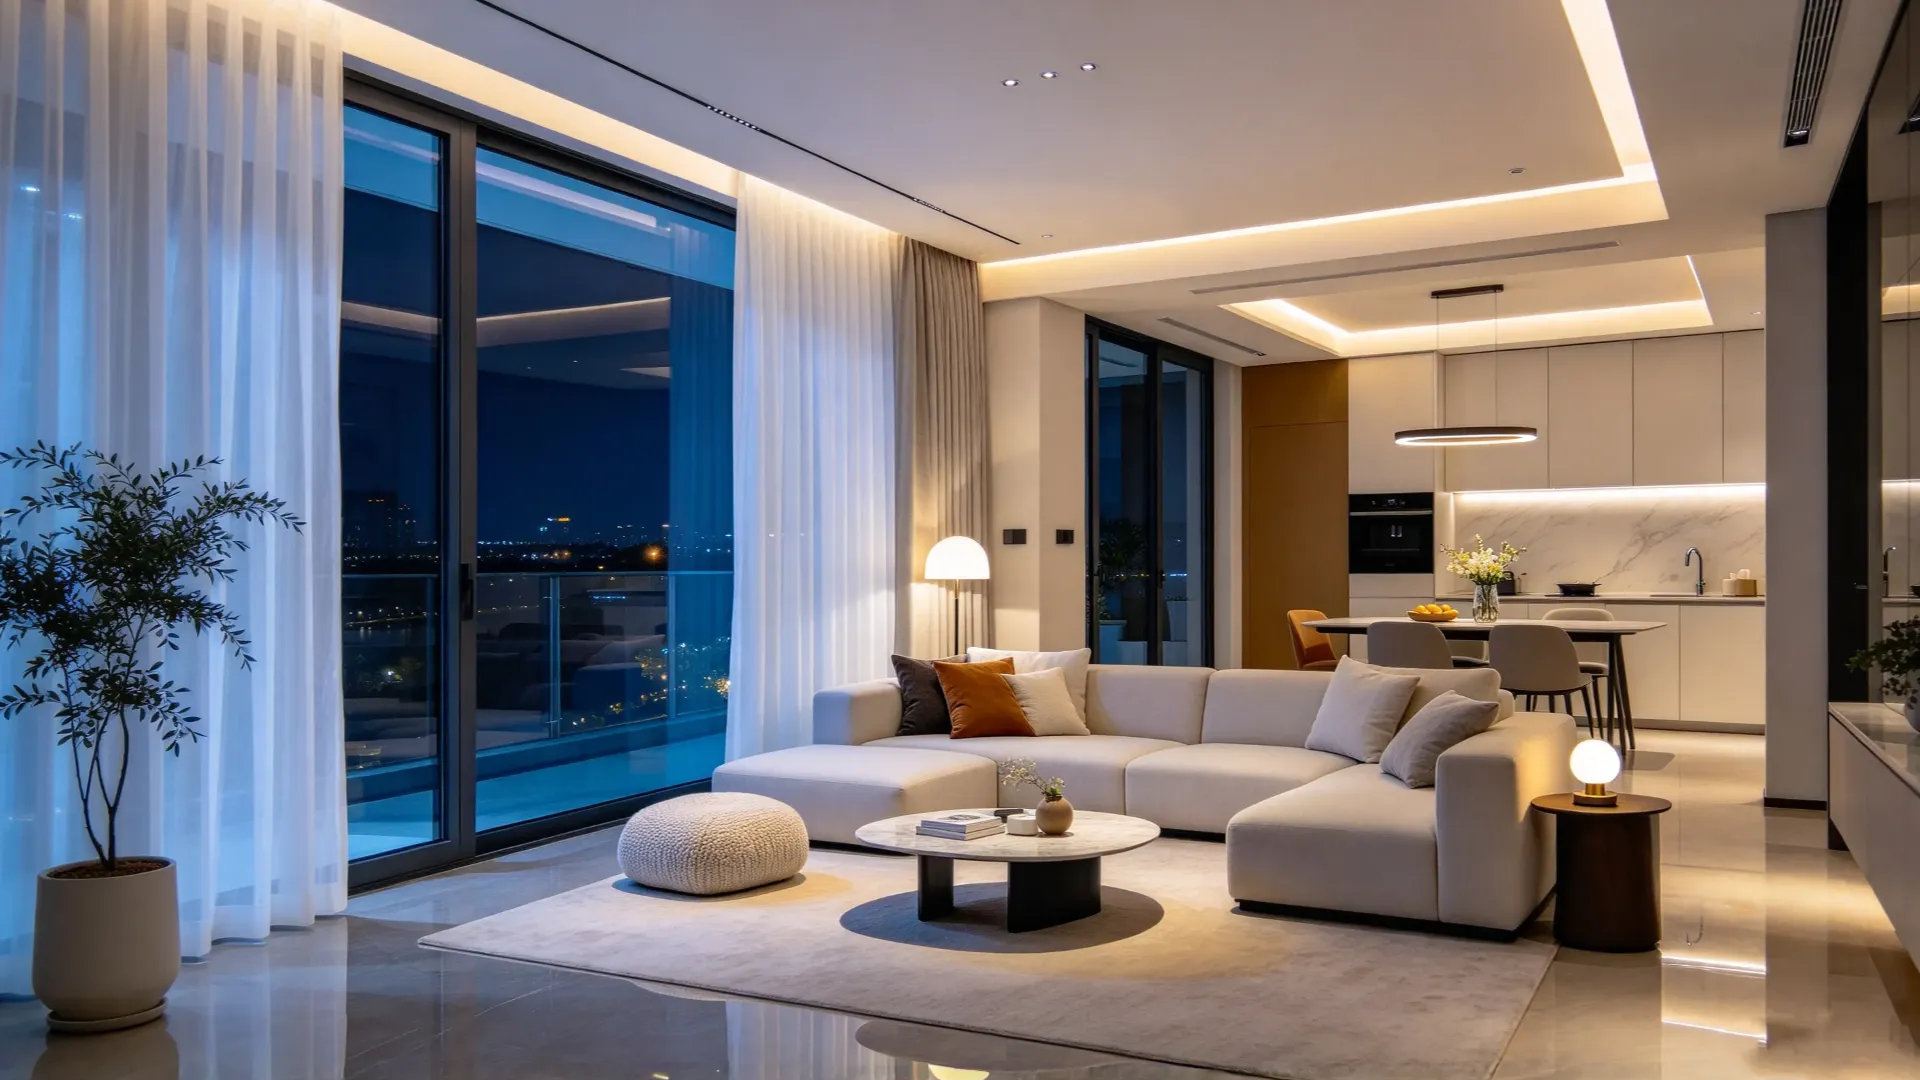
Group 03 defines the identity, expression, and environment masters used by every scene group; angles may differ, identity, wardrobe, room, and light direction may not.
Prepare a Locked Production Reference Pack
Before generating coverage, freeze the core visual and audio materials that define the production.
This is not the stage for collecting every attractive reference you can find.
It is the point at which exploration becomes a repeatable film language. The production pack should contain only what the short needs: Approved character reference images One clear appearance or wardrobe state for each part of the scene The primary environment and lighting direction Any essential prop or set detail A small set of approved camera or movement references Voice, ambience, or sound references when they are central to the film Name the assets consistently and reuse the same approved files.
Replacing a character image halfway through production because another portrait looks better can create a larger continuity problem than the improvement is worth.
The same applies to room images with different architecture, lighting direction, or scale. The pack also needs a short visual rule set.
Record hair, recognizable facial features, body proportions, skin details, wardrobe or appearance state, dominant light direction, and room geography.
For scenes involving close interaction, also record left-to-right placement, contact direction, pose progression, preferred camera distance, and which parts of the body may be hidden by another character or foreground object. These notes do not need to appear in full inside every prompt.
Their purpose is to help you reject references or generations that quietly redesign the production.
A close-up should not introduce a new body relationship simply because the wider shot no longer appears in frame. If the short contains several distinct locations or major state changes, use a dedicated multi-scene planning guide before production.
This article assumes the story and scene boundaries already exist; the reference pack here is concerned with generating footage that remains usable in the final edit.
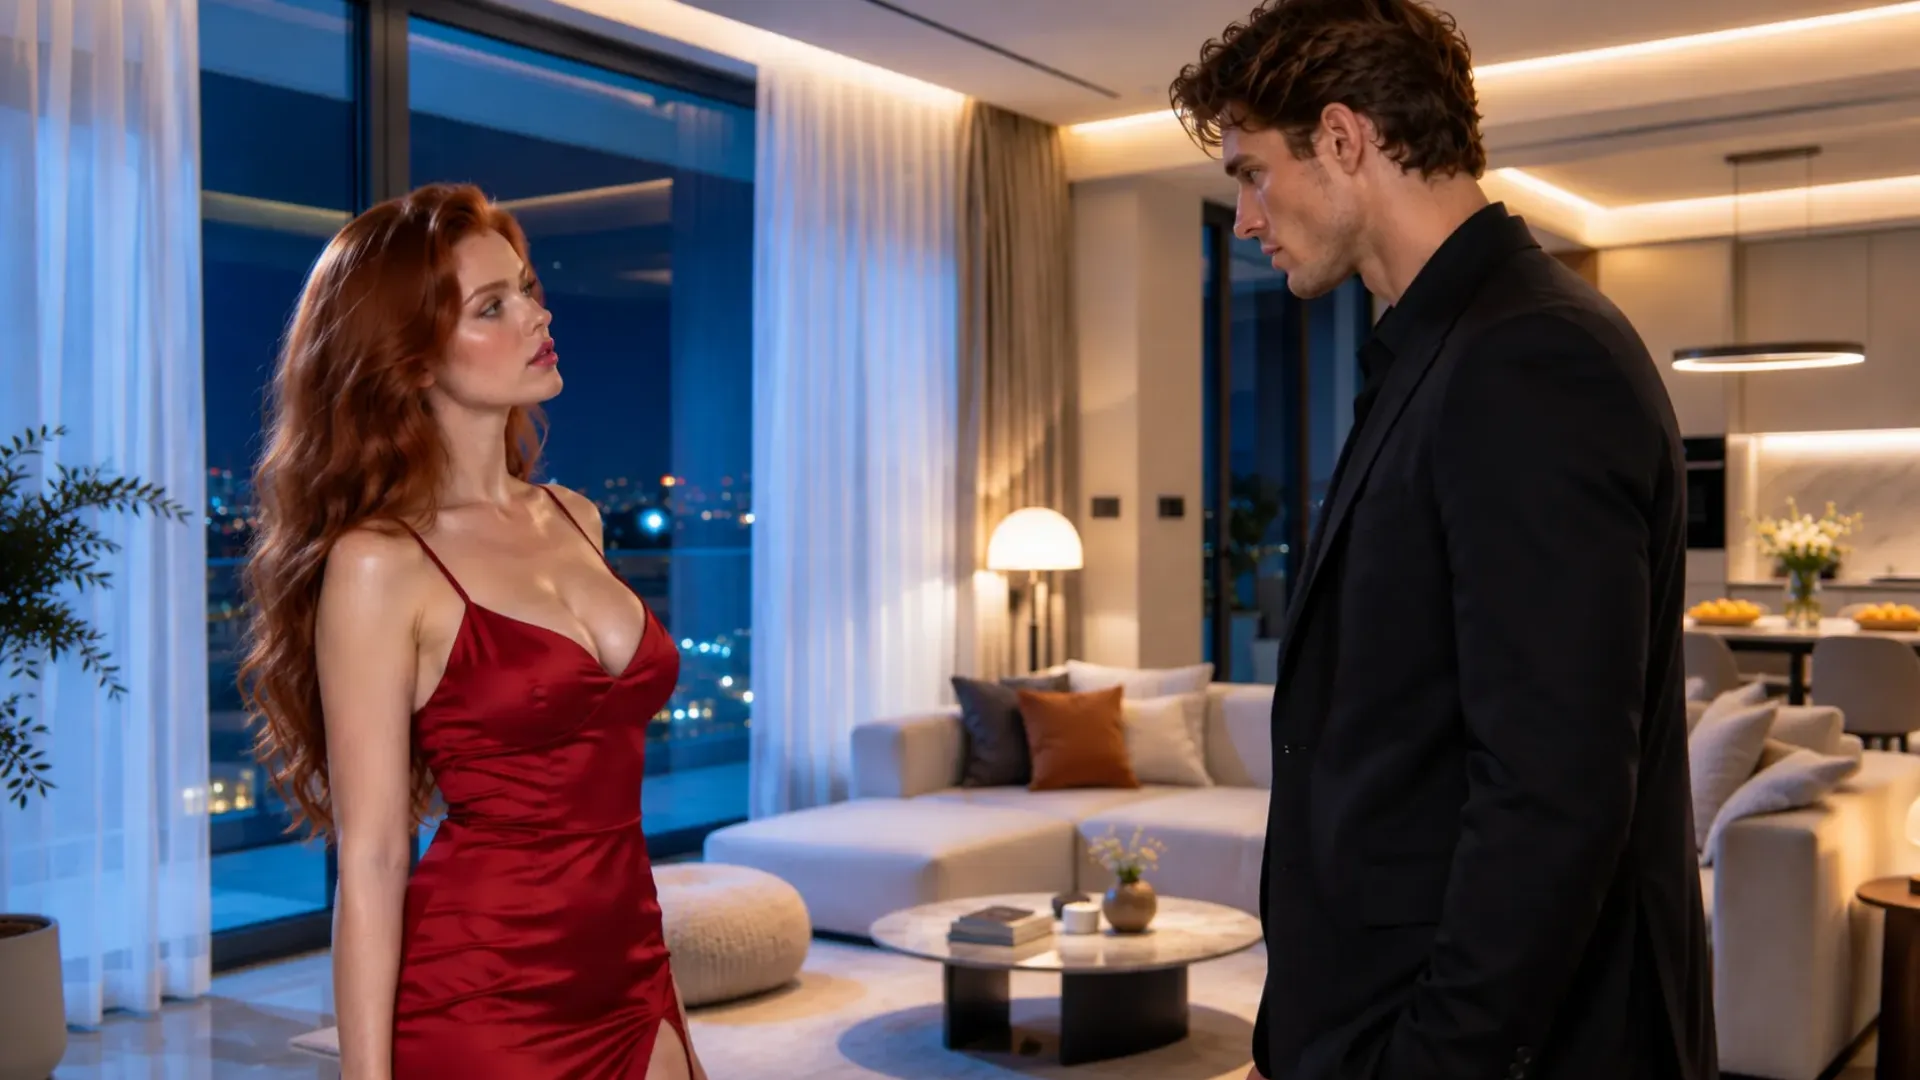
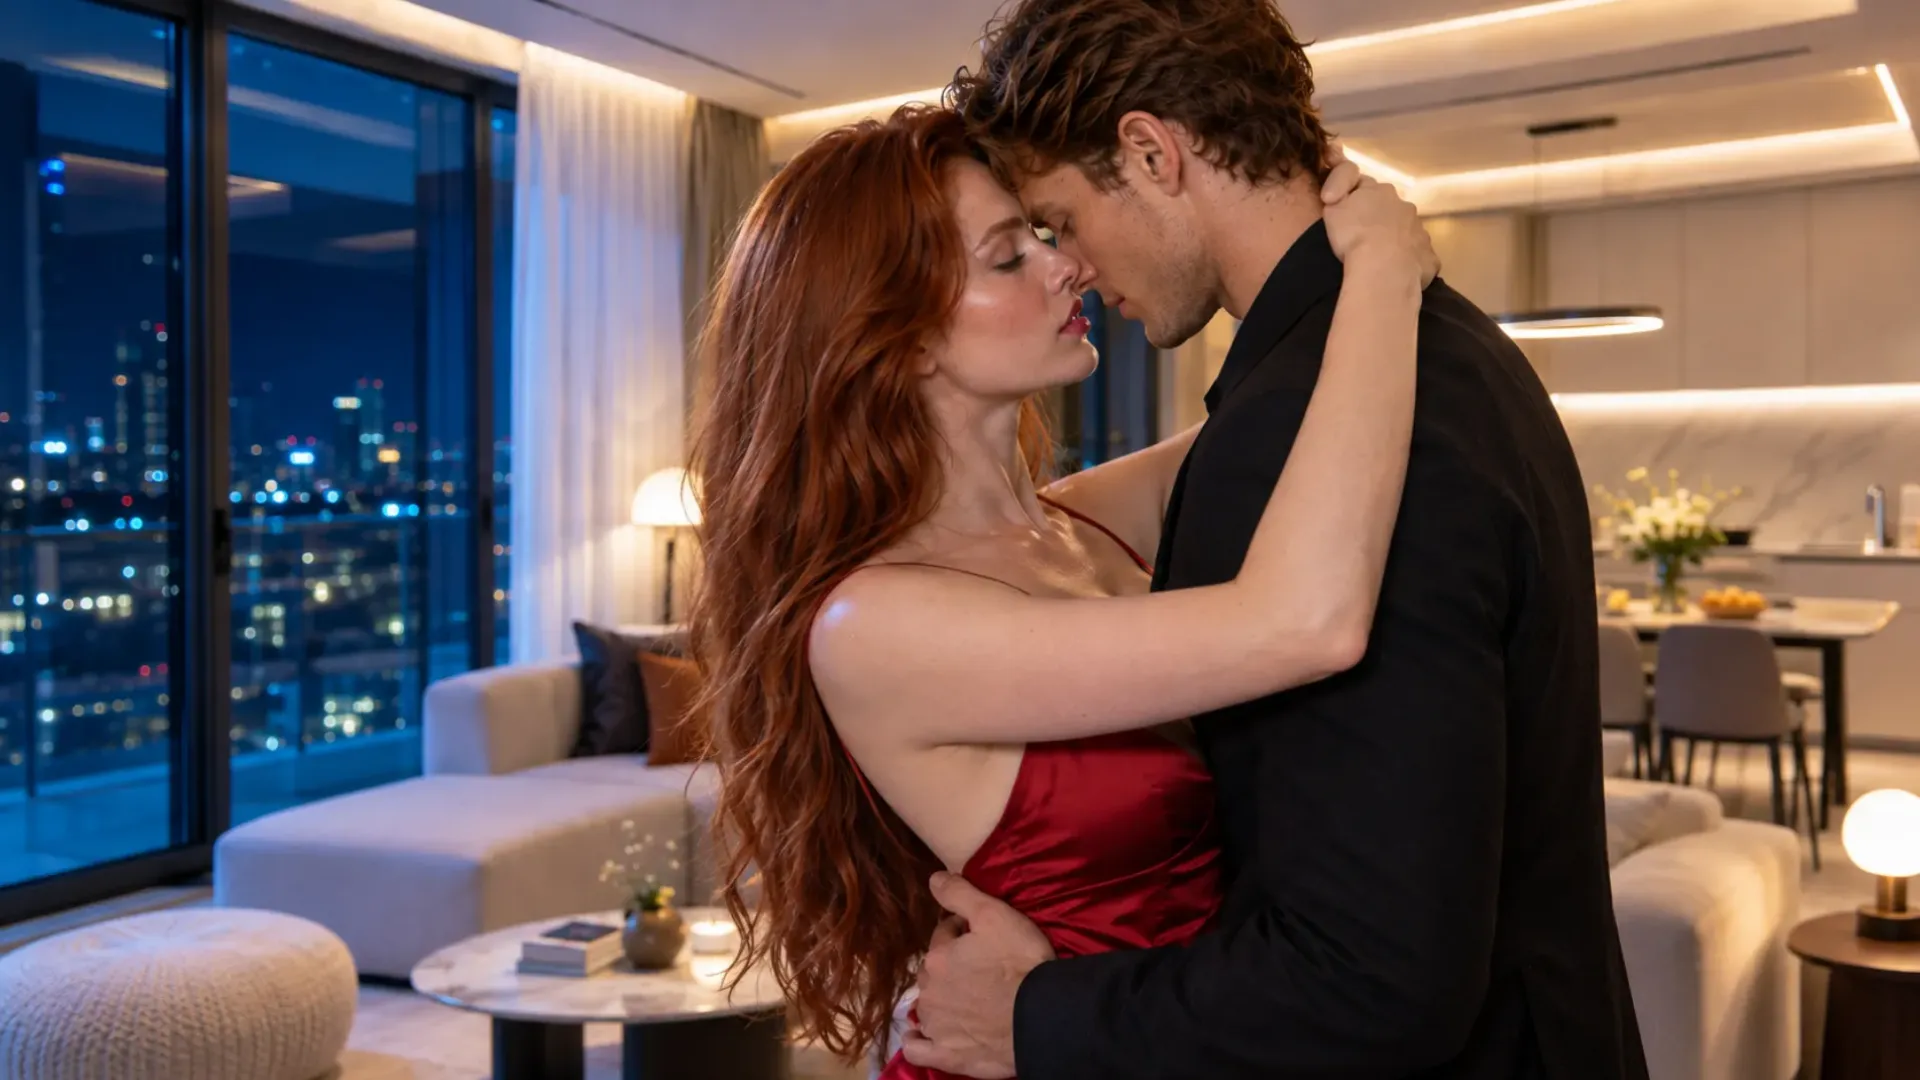
Group 04 stays in the master scene: same cast, axis, camera height, wardrobe, room, lighting, and action order.
Design Every Clip With an Entry, Action, and Exit
A clip becomes easier to edit when it contains three readable phases: Entry state: where the character, camera, and action begin. Primary action: the one event the shot must deliver. Exit state: where the movement settles before the clip ends. The entry and exit are sometimes called handles in editing: a small amount of usable material before and after the essential action.
They give the editor room to place a cut without losing the beginning of a movement or stopping at its most unstable frame. Suppose the required shot begins with two characters at a readable distance, then moves into closer contact.
A weak generation request may begin midway through the pose transition, add a camera orbit, change the body relationship, and continue moving until the final frame.
Even if individual moments look impressive, there may be no clean point to enter or leave the shot. A more editable direction establishes the initial distance, completes one controlled movement into the intended intimate interaction, and allows the characters to settle into a stable final pose before the clip ends.
The central action remains the same, but the finished clip now offers choices. For a 15-second generation, the timing might be: Opening seconds: stable starting composition Middle: primary movement or interaction Final seconds: readable ending position and controlled camera These are directing ranges, not frame-accurate guarantees.
Their purpose is to tell Seedance what should happen first, what deserves the center of the shot, and where the movement should resolve. Do not fill every second because the model offers up to 15 seconds.
If the usable action needs eight seconds, a shorter and cleaner clip may cut better than a full-length generation containing extra movement.
Duration should support the shots editorial job. Entry Action Exit
Direct Audio as Part of the Cut
Seedance 2.0 can generate audio and video together, which is valuable when speech, breath, movement, and environment need to feel synchronized.
A short film, however, needs audio continuity across clips—not merely convincing sound inside each isolated generation. Separate the sound plan into four layers. Dialogue or Vocal Performance Keep spoken lines short enough to fit the shot without rushing the physical performance.
If a line is essential, give it one clear speaker and an obvious place in the action. Generating several speaker changes, close interaction, and complex camera movement at once increases the number of relationships the model must synchronize. Room Tone Room tone is the background sound that makes separate clips feel as if they occupy the same space. A bedroom, hotel suite, studio, or private interior should not sound completely different every time the camera angle changes.
Decide whether the environment is quiet, urban, rainy, air-conditioned, or accompanied by distant music, then keep that baseline consistent. Action Sounds Footsteps, fabric movement, a door, a glass, or contact with furniture can make the generated action feel grounded. Prioritize sounds that clarify what is happening.
Too many individually specified effects can compete with dialogue and visual direction. Music Decide whether music belongs inside the generated clip or across the final sequence.
If every take invents its own melody, cutting between them becomes difficult. For a short film with several clips, one continuous music bed or a deliberately planned transition is often easier to control than unrelated music in every generation. When reviewing takes, listen without watching.
Sudden changes in ambience, voice character, music, or loudness become more obvious. A visually strong clip with incompatible audio may still work if the sound can be replaced or covered; a synchronized spoken performance may be worth preserving even if a small visual detail needs editing. Audio should influence the cut rather than arrive after the picture is locked.
A continuing line, breath, room tone, or music cue can create an audio bridge, carrying the viewer into the next shot before or after the image changes. This often makes separate Seedance clips feel more connected without pretending they were one uninterrupted generation.
Generate an Anchor Take Before Expanding the Scene
Begin production with the anchor shot.
It tests the character references, room, lighting, interaction, camera distance, and sound direction in one place.
Do not generate every planned angle before confirming that this core setup works.
Review the anchor take for five things:
- Are the characters immediately recognizable?
- Are body position, contact direction, and left-to-right placement understandable?
- Does the central interaction read without explanation?
- Does the camera preserve the important action instead of hiding it behind a character or foreground object?
- Can the sound direction continue into other shots?
Once the anchor is approved, create complementary coverage by changing only what the new shot needs.
- Move from wide to medium.
- Isolate a reaction.
- Generate a detail.
- Create a clean exit.
Keep the underlying character and environment package stable.
This order reduces expensive drift. If the room or main interaction is wrong, it is better to discover that before producing six supporting clips around the wrong version of the scene.
It also establishes a visual standard. Later takes do not need to copy every frame of the anchor, but they should feel as if the same production photographed them: similar faces, compatible lighting, coherent room geography, and movement that belongs to the same moment.
Select Takes for Editability, Not Just Beauty
The most cinematic frame is not always part of the most useful take.
Evaluate every generated clip as material for the final cut. Use this take scorecard:
| Criterion | Question to Ask | Reject or Repair When… |
|---|---|---|
| Story function | Does the clip deliver its assigned beat? | The attractive action does not advance the intended moment |
| Character stability | Are identity and key visual features recognizable? | The character changes enough to break the scene |
| Spatial clarity | Can the viewer understand position and direction? | Characters or objects appear to switch sides without motivation |
| Interaction continuity | Do contact points, body positions, and pose transitions remain understandable? | The physical relationship changes without a readable movement |
| Occlusion control | Does the camera preserve the important action? | A character or foreground object hides the scene’s central interaction |
| Entry and exit | Are there clean places to cut? | The clip begins late or ends mid-action |
| Audio usefulness | Can the sound be kept, bridged, or replaced? | Essential speech or ambience cannot be integrated |
| Visual compatibility | Does it belong beside the neighboring shots? | Lighting, scale, or camera language feels like another production |
Mark the usable range inside each take rather than judging the complete file as pass or fail.
The first two seconds may contain a strong reaction even if the later movement breaks down.
A detail shot may only need one clean second.
A clip that fails as a continuous take may still provide an insert, transition, or audio element. Keep alternate takes when they offer different editorial value.
One may have the strongest performance; another may have the cleanest ending; a third may solve an audio transition. The purpose of coverage is to give the final cut those options.
Decide Whether to Regenerate, Edit, Extend, or Cut Away
When a take is close but not usable, choose the smallest intervention that addresses the actual problem.
| Problem | Best First Choice | Reason |
|---|---|---|
| The central action is wrong | Regenerate | The shot has failed its primary story function |
| A local object, detail, or short action is wrong | Edit | The surrounding performance may not need to be replaced |
| The shot works but ends before the action resolves | Extend | The existing audiovisual state provides a useful continuation point |
| The performance is strong but one brief moment is unstable | Cut away | Supporting coverage can preserve the take without exposing the weak frames |
| The opening is unusable but the middle works | Trim and enter later | The clip may already contain the needed material |
| The camera distance hides the central interaction | Generate a new angle | Extending the same framing will not restore visual clarity |
| Dialogue is usable but the picture changes | Preserve audio and replace the image | The vocal performance can bridge to another shot |
| The image works but generated sound conflicts with the sequence | Replace or rebalance audio | The visual take may still belong in the final cut |
Use editing when the correction is local and the rest of the take deserves protection.
Use extension when the same shot, action, and audiovisual state should continue. Regenerate when the foundation is wrong: the character, blocking, camera, or central interaction does not perform the shot’s job. Extension is not a substitute for a new angle.
Continuing a clip asks the model to preserve and advance the existing state.
If the edit needs a reaction close-up or a cleaner spatial reset, a separately directed shot will usually provide more control. Cutaways are equally important.
A hand, object, expression, environmental detail, or controlled camera move can cover a difficult transition while keeping the scene intentional. This is not merely hiding an error; it is using coverage for the purpose it was created. For NSFW footage, cut away only after confirming that the surrounding shots still explain the interaction.
A detail can cover an unstable transition, but it should not leave the viewer unsure how the characters arrived at the next pose.
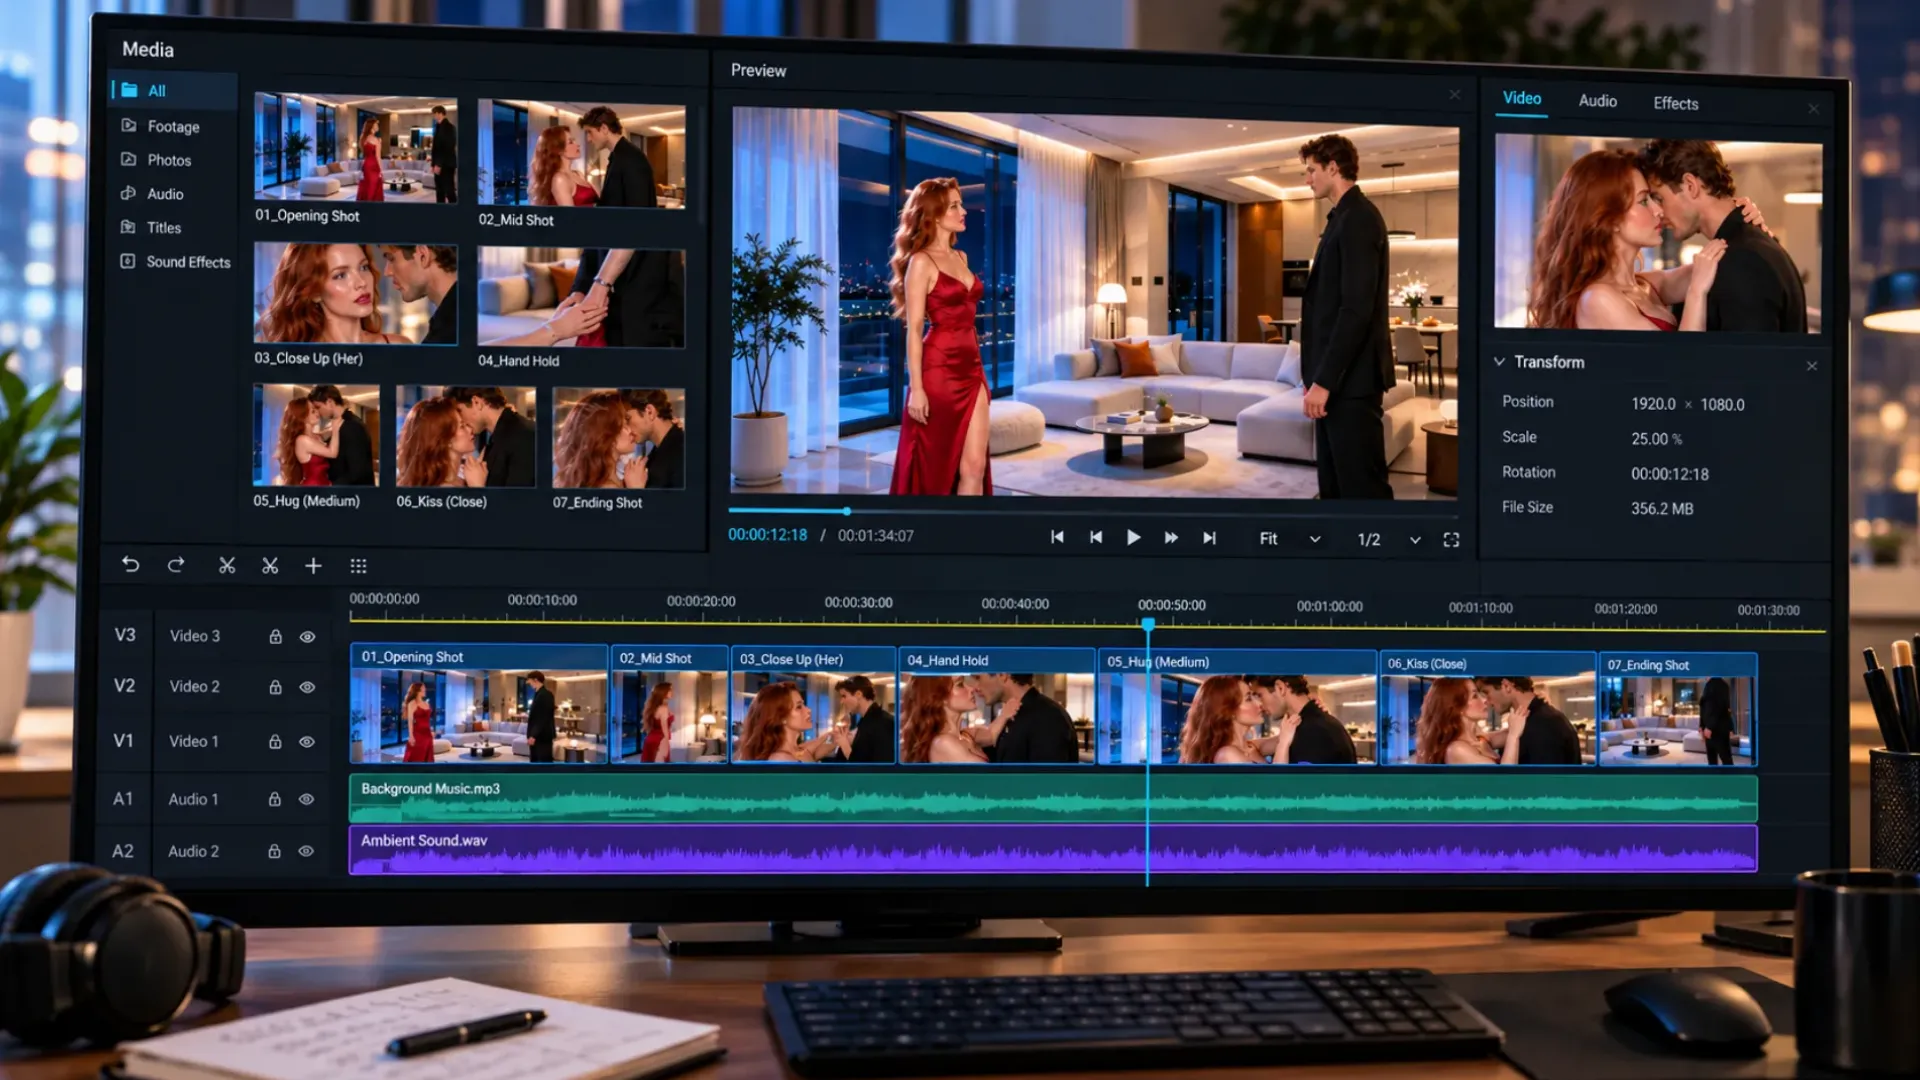
Group 05 is a separate creator context; the footage visible on screen must match the master scene used by Groups 01–04.
Build the Final Cut in Passes
Do not try to perfect picture, sound, pacing, and finishing at the same time.
Assemble the film in several passes, with one decision layer at a time. Pass 1: Build the Story Cut Place only the clips needed to understand the scene.
Ignore small timing imperfections.
The question is whether the sequence has a beginning, progression, central moment, and ending. Remove shots that repeat information.
A beautiful close-up does not belong in the cut if the previous shot already communicates the same reaction more clearly. Pass 2: Refine Performance and Pacing Trim entrances, shorten pauses, and decide how long reactions need to remain on screen. NSFW pacing does not need constant movement.
Controlled stillness can make a close interaction feel more deliberate, while cutting too quickly can make body position, contact direction, and emotional intent difficult to read. Use the anchor shot whenever the viewer needs spatial clarity.
Establish relative position before moving into a close-up, and return to a wider view when a pose or contact relationship changes.
Avoid stacking several close shots together if they remove all sense of space. Allow the explicit turning point enough screen time to register, then hold the reaction or ending state long enough for the transition to feel intentional rather than mechanically completed. Pass 3: Create Sound Continuity Choose the primary dialogue, ambience, effects, and music.
Build audio bridges across visual cuts, remove abrupt changes in room tone, and prevent several generated clips from competing with different music or background textures. The sound does not need to come from the same take as the image when rights and consent are clear.
Preserve the strongest synchronized moment, then build the surrounding audio around it. Pass 4: Match the Visual Sequence Check exposure, color temperature, contrast, grain, and sharpness across neighboring shots.
The goal is not to flatten every image into an identical look.
It is to prevent one clip from appearing to belong to a different room, time, or production. Be careful with aggressive reframing.
Cropping can improve composition, but it can also hide hands, break body relationships, or enlarge small generation artifacts.
Review the final delivery size, not only the editing preview. Pass 5: Watch Without Stopping The final review should happen at normal playback speed.
Do not pause to inspect every frame until after judging the film as a viewer. Ask whether the eye knows where to look, whether the interaction remains understandable, and whether the ending feels chosen rather than accidental.
Final Quality Check for an NSFW Short Film
Before export, watch the film once for each of these concerns: Character: Does the same person remain recognizable across the cut? Interaction: Are contact, movement direction, and body positions readable? Space: Do the characters and important objects remain in understandable locations? Camera: Does each change in angle add information without hiding the central interaction? Occlusion: Do foreground objects and overlapping bodies preserve rather than obscure the intended action? Pacing: Does the central moment receive enough time without unnecessary repetition? Sound: Do dialogue, ambience, effects, and music belong to one continuous experience? Ending: Does the film resolve on a deliberate image and sound state? Delivery: Does the final aspect ratio preserve the intended framing on its target screen? If one problem appears repeatedly, return to the production decision that created it.
Persistent character drift points back to the reference pack.
Unclear physical action points back to coverage and blocking.
Abrupt endings point back to missing exit states.
Inconsistent sound points back to generating every clip as an isolated audio world. The purpose of the final check is not to remove every trace of generation.
It is to make sure no single inconsistency interrupts the scene strongly enough to break the viewer’s attention.
Create the Source Clips on NSFWSeedance
If your priority is unrestricted NSFW image and video creation rather than access to one specific model, NSFWSeedance provides a separate browser-based workflow for generating the source material your project needs. Start with text, a character image, or visual references through T2V, I2V, and R2V workflows.
Within consensual 18+ creation, you can create anything you want with no restrictions on prompts or creative direction.
Registration includes free credits and does not require a payment method. Use the same production discipline: define the shot’s job, keep the character and scene direction clear, and generate footage for the final edit rather than treating every output as a finished film. CTA: Generate NSFW Images and Videos
Final Takeaway: Generate for the Edit
A strong Seedance 2.0 NSFW short film begins with the final cut in mind.
Plan enough coverage to keep physical interaction readable, lock the production references before generating variations, give every clip a clear entry and exit, and direct audio as part of the sequence rather than an isolated effect. Then judge each take by what it contributes.
Regenerate when the central action fails.
Edit when the problem is local.
Extend when the same shot should continue.
Cut away when supporting coverage can preserve a strong performance. The finished film becomes coherent not because every generation is perfect, but because every selected piece performs a clear role.
FAQ
Can Seedance 2.0 Create a Complete Short Film?
Seedance 2.0 can generate multi-shot audio-video clips of up to 15 seconds and can support editing and extension. A longer short film is usually built by generating, selecting, repairing, and assembling several clips into a final sequence.
How Long Should Each Seedance 2.0 Short-Film Clip Be?
Use only the duration required for the shot’s action and clean entry and exit states. Seedance 2.0 can generate up to 15 seconds, but a shorter clip may be easier to direct and edit when the shot has one specific job.
Can One Seedance 2.0 Prompt Generate the Entire Film?
A single prompt can generate a short multi-shot sequence, but it does not replace coverage, alternate takes, sound continuity, and final editing for a longer film. Treat one generation as a production unit rather than the complete process.
How Do I Keep the Same Character Across Seedance 2.0 Clips?
Reuse the same approved character references, avoid changing appearance-defining assets between shots, and reject generations that redesign key features. Keep facial details, body proportions, appearance state, and placement consistent while changing only the camera or action required by each shot.
Should I Generate Audio Inside Seedance 2.0 or Add It Later?
Use native audio when synchronized dialogue, movement, or performance matters. Add, replace, or rebalance sound during the final edit when several clips need one continuous ambience, music bed, or consistent voice treatment.
When Should I Extend a Seedance 2.0 Clip?
Extend when the current shot is working and the same action or audiovisual state should continue. Generate a new shot when you need a different angle, controlled reset, reaction, or change in visual emphasis.
Should I Regenerate a Clip or Fix It in the Edit?
Regenerate when the central performance, character, or physical relationship is wrong. Edit when the problem is local. Trim or cut away when the usable part already performs the shot’s purpose.
Is Seedance 2.0 Uncensored on Every Platform?
No single platform experience applies everywhere. Prompt checks, reference acceptance, available modes, and output handling can differ by service.